The Royal Wedding Sew Along Dress Reveal
Hey everybody! Happy Tuesday! I'm so excited for today! Not only is it the first day of May and all makers are gearing up for #MEMADEMAY, its also reveal week for the Royal Wedding Sew Along and today I'm sharing my dress!
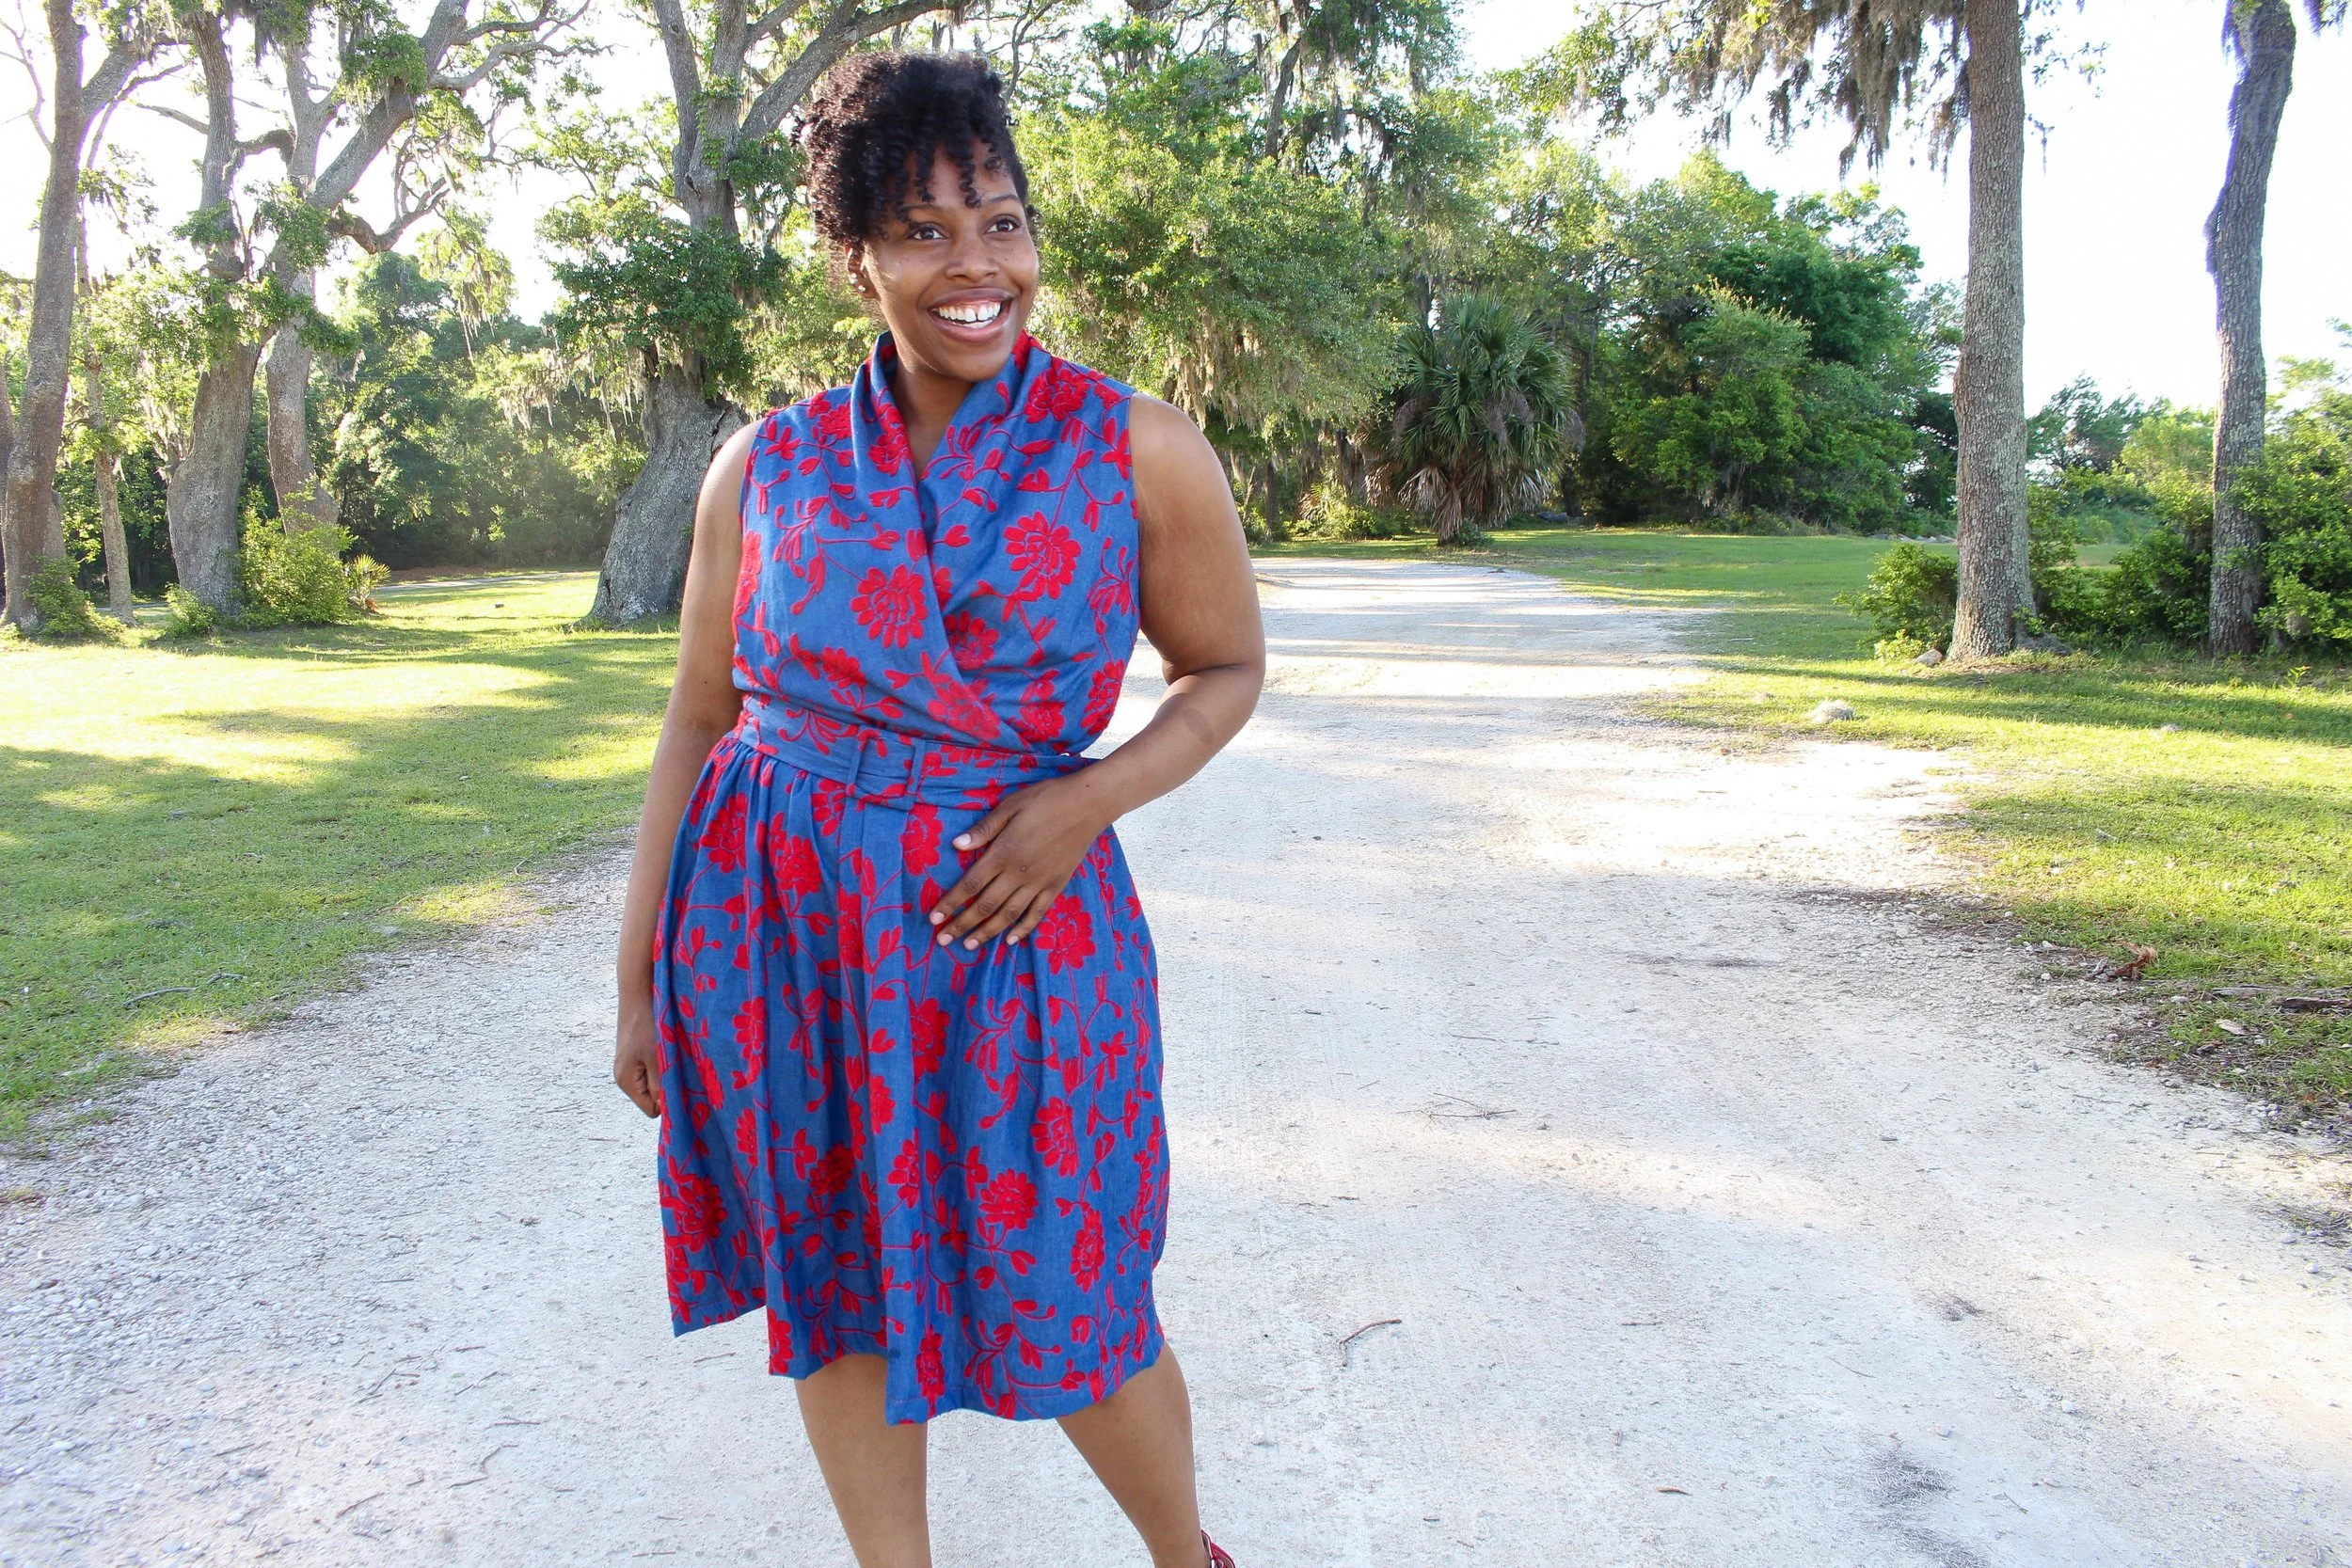
If you didn't know, I was one of the bloggers for the fun sew along sponsored by McCalls and Simplicity patterns. I was so grateful for the opportunity to hop on board and be the blogger for Butterick 5850! I love this pattern! I think it's so pretty and will work perfect for special occasions as well as a nice casual church/brunch dress.
The sew along started back on March 5 and from that time, I've posted weekly blog post/videos to help walk you through constructing this dress. We went through attaching lining, zippers, ties.....everything, so if you missed any, you can check them out here!
For my dress, I wanted it to be in a beautiful fabric, but not a special occasion fabric such as a satin, or taffeta. While browsing Fabric.com, I came across this Telio Embroidered Red Chambray and thought it'd be perfect! Once the fabric came, I started to doubt it! I thought the print would over-power the dress a bit, but hey....only way to know is to sew! So thats what I did!
I love the finished look of this dress! It fits great and I feel great in it! While sewing my muslin for the sew along, I knew I was going to omit the ties! They were a little too long, and bulky for my style, so instead of the tie, I made a belt! I'm so happy with the outcome of that because it was my first time doing a DIY belt!


I didn't take step by step pics of me making it (I know, I know) but I do have a link here for the buckle kit which comes with easy to follow directions on the back of the package, and here's the measurements I used...
•I measured my waist (keeping in mind, extra to have on the side, and adding seam allowance) I cut a 5.5"x 48" pieces of fabric and applied interfacing to it.
•Folded fabric in half right sides together and sewed it all the way around leaving an opening in the middle to turn it rights sides out.
•Trimmed corners and seam, turn tie right side out. Press and slipstitch opening closed.
•Once I had the buckle covered, I attached one end of the tie around the middle of the buckle and tacked it down, and the belt was finished.
It comes with the prong, but I didn't want to add eyelet to the belt so I left the prong off. (After wearing it, I'll probably go back and add them or a snap....it will slide and loosen as you wear)
You know I couldn't leave my mini out! I had just enough fabric left over to make her a dress and I just love it on her! I used Simplicity 8563 View C and cut the size 3. I has a bias finished neckline, flutter sleeves (fun fact: I can't stand sewing toddler sleeves LOL) gathered waist and center back zipper! Super cute, quick and basic pattern that has lots of potential for a little girls closet!!


Thank you all do much for stopping by, and for joining me for the #royalweddingsewalong! It's been amazing sewing this dress together, and I can't wait to see everyones make! To get the details for the Royal Wedding Contest, click here to go to McCalls blog! Good Luck!
Until next time....
Blessings
