making sandals part 1: the shoe camaraderie
Let the fun begin! Hey Friends! I’m excited about this post!!! Lol! So I’ve totally been inspired by the sewing community! I mean how can you not! So many amazingly talented people, all sharing their love for creating! I just LOVE it!! Lately a lot of the makers I follow have gotten into shoe making and it’s so inspiring to see. To be honest, I’ve been intimated to step outside of the “clothing making” space to try anything new (except for knitting…I love knitting). I felt like, this is my lane, I need to stay here. A couple weeks ago, I started to realize that, I can still stay in my lane or the space that I truly love but also try and learn a new skill. That’s what us creatives do right, we continue to try and learn new things.
Once I had that realization, I thought why not make some shoes! Well…sandals! I feel like a sandal is a good place to start and I’m so excited to start with the Ada kit from The Shoe Camaraderie. Quick story, Lisa (owner of The Shoe Camaraderie) reached out to me in 2019 about a possible collab and I let my intimidation and need to stay with only clothing making pass on the opportunity! Needless to say, I’m grateful for the opportunity again, and confidence I have in myself now to try it!
I decided I wanted to blog about the process and share my experience with making my first pair of sandals. This post is all about the what comes in the Ada Sandal Kit. Let’s get into the details!
the details
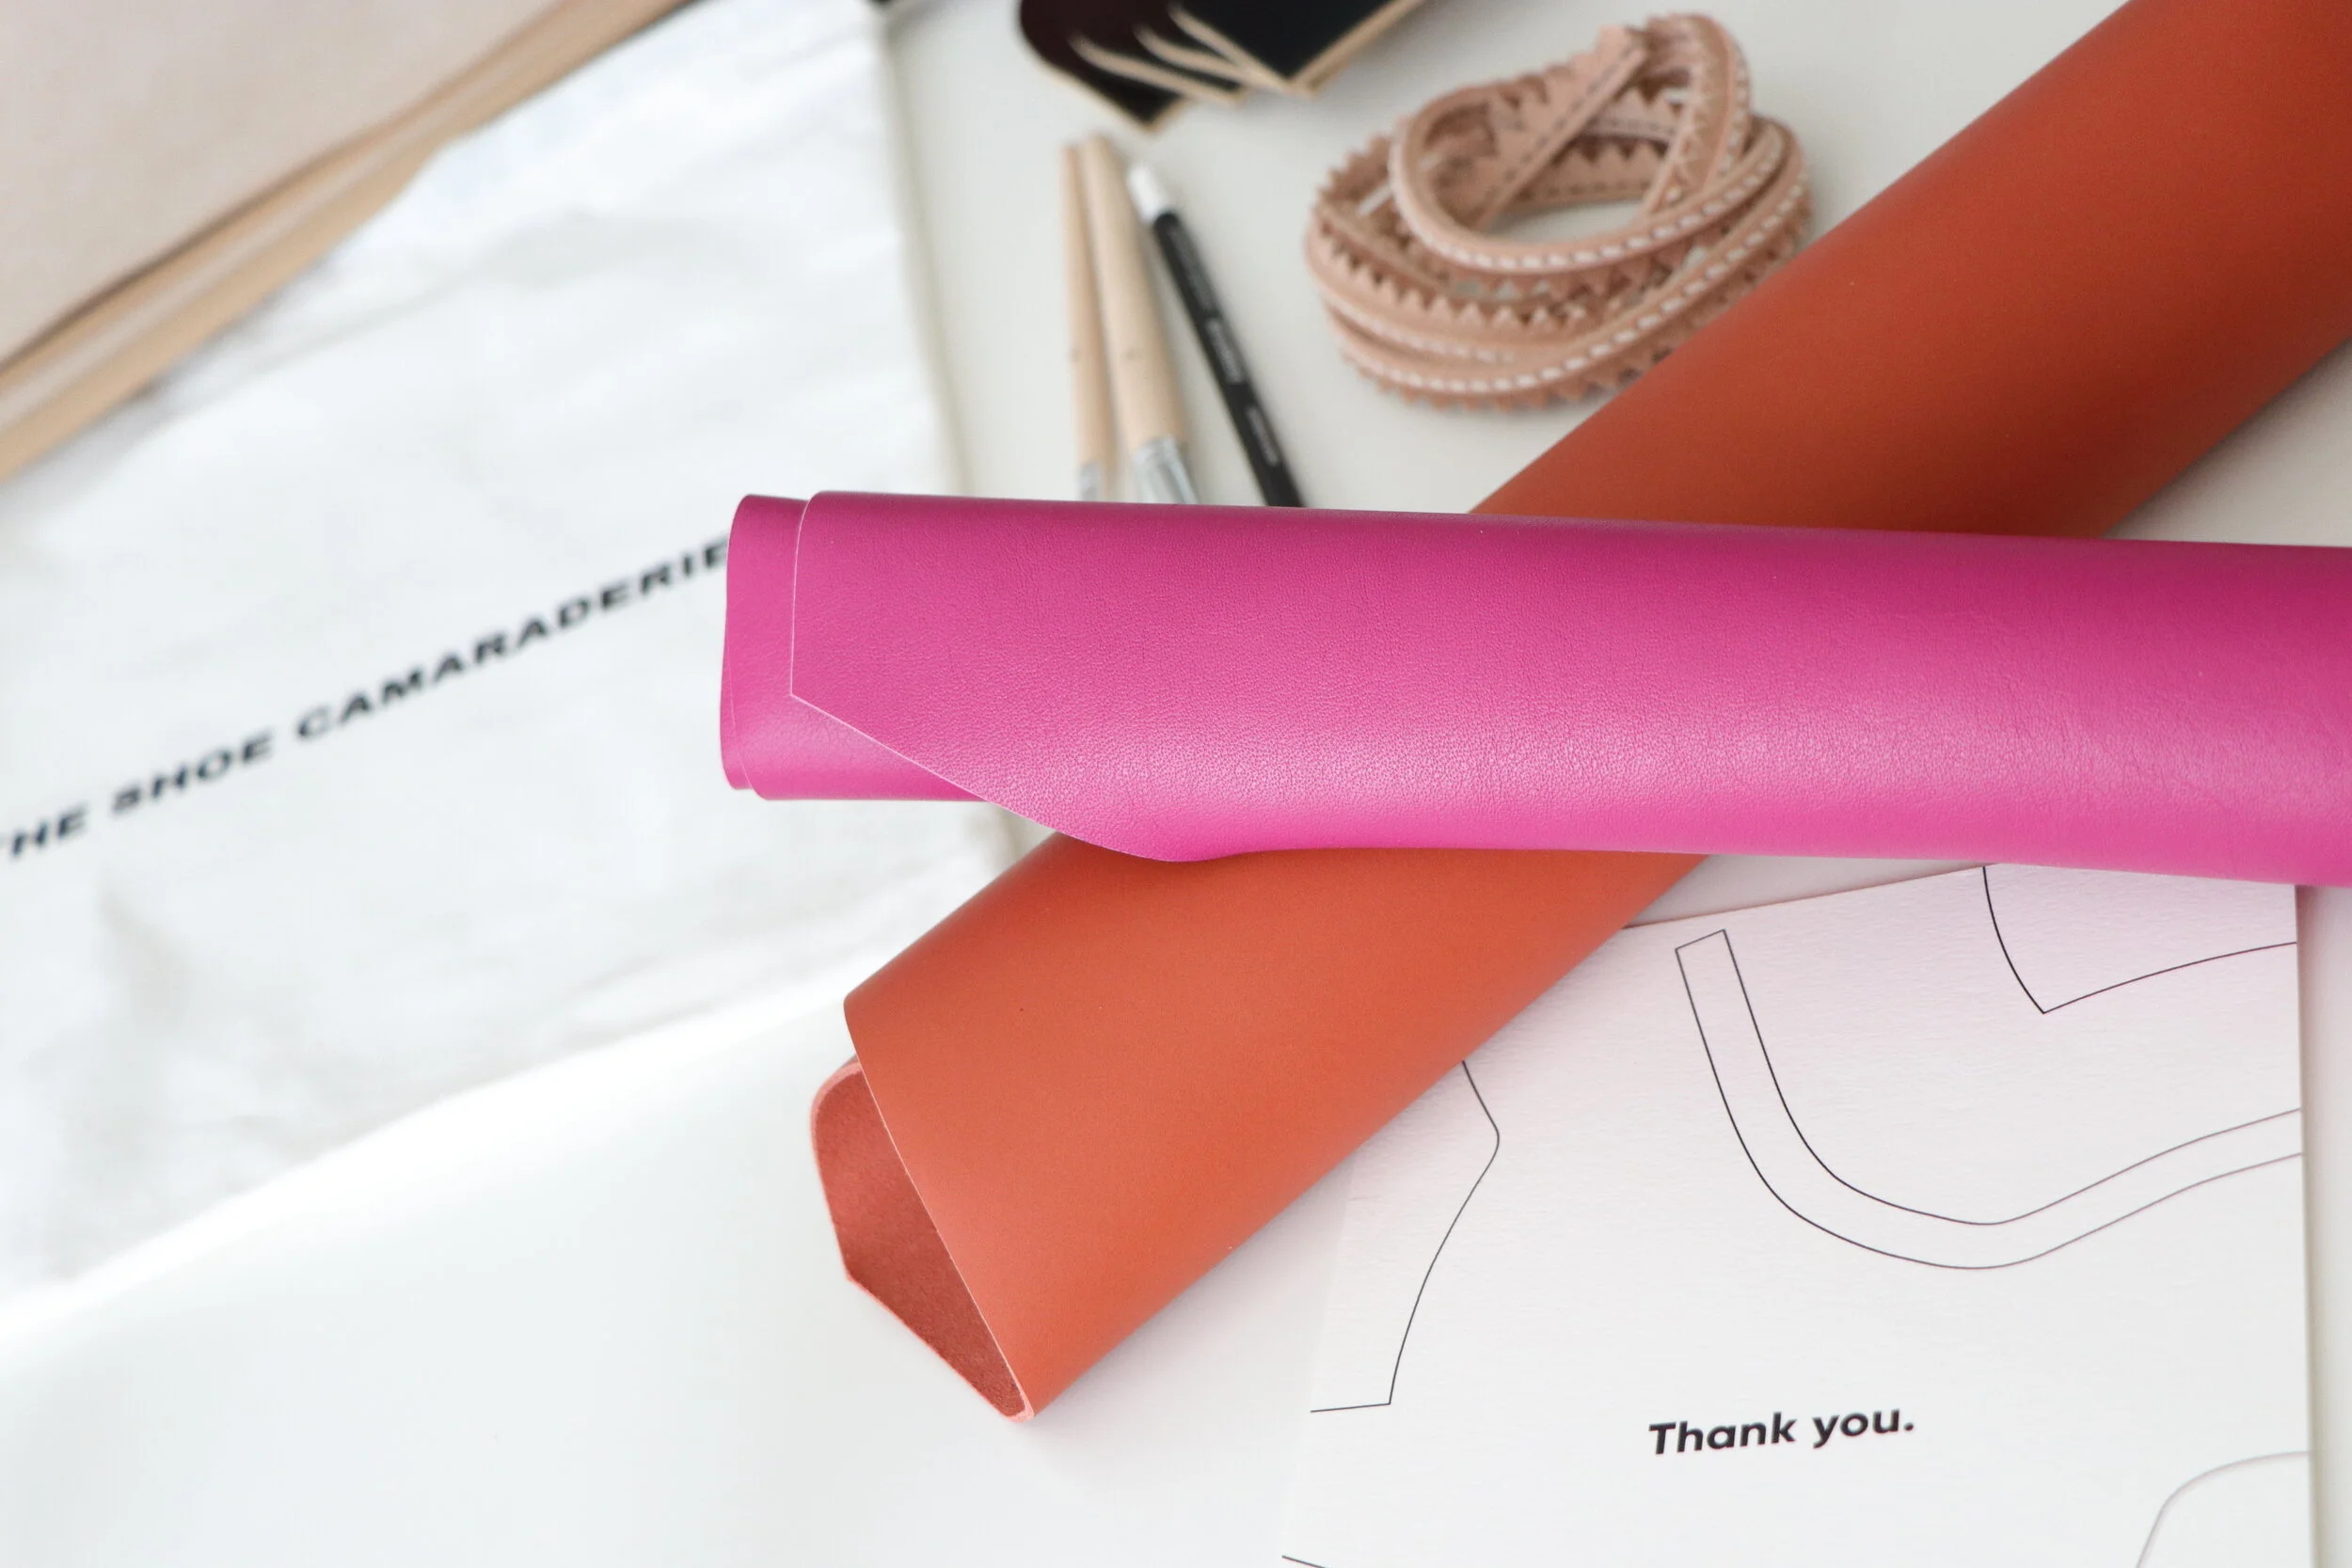
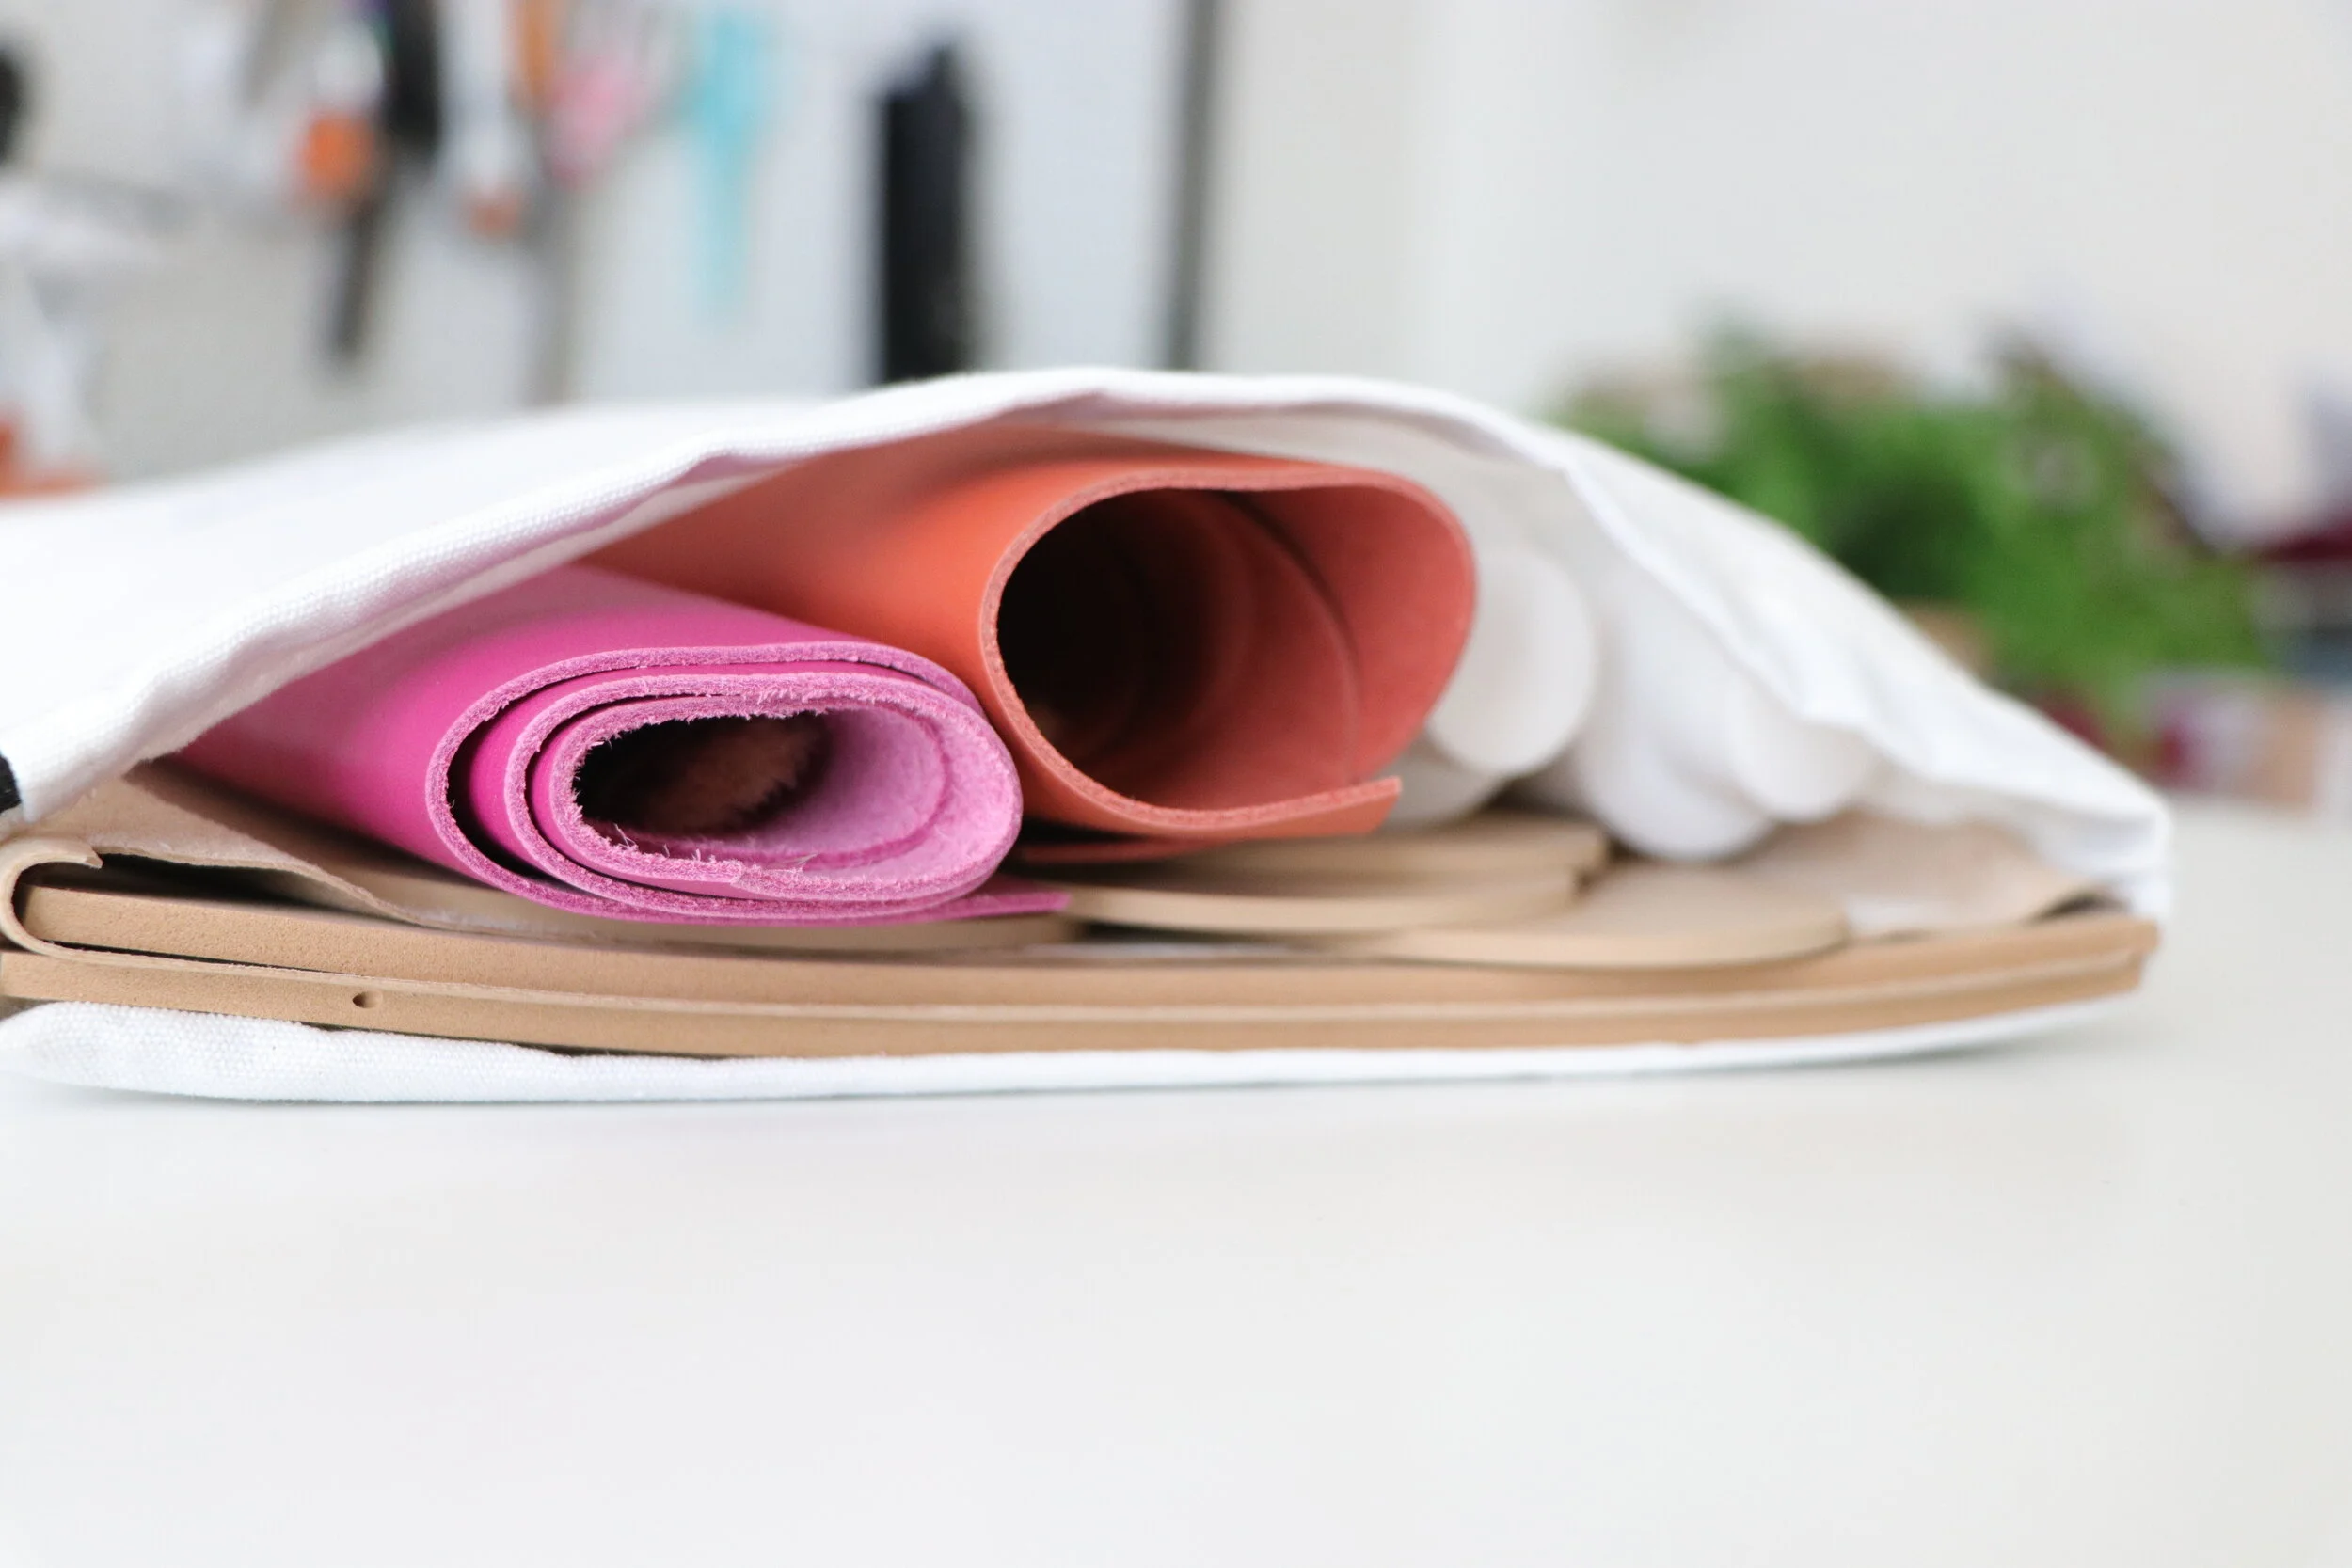
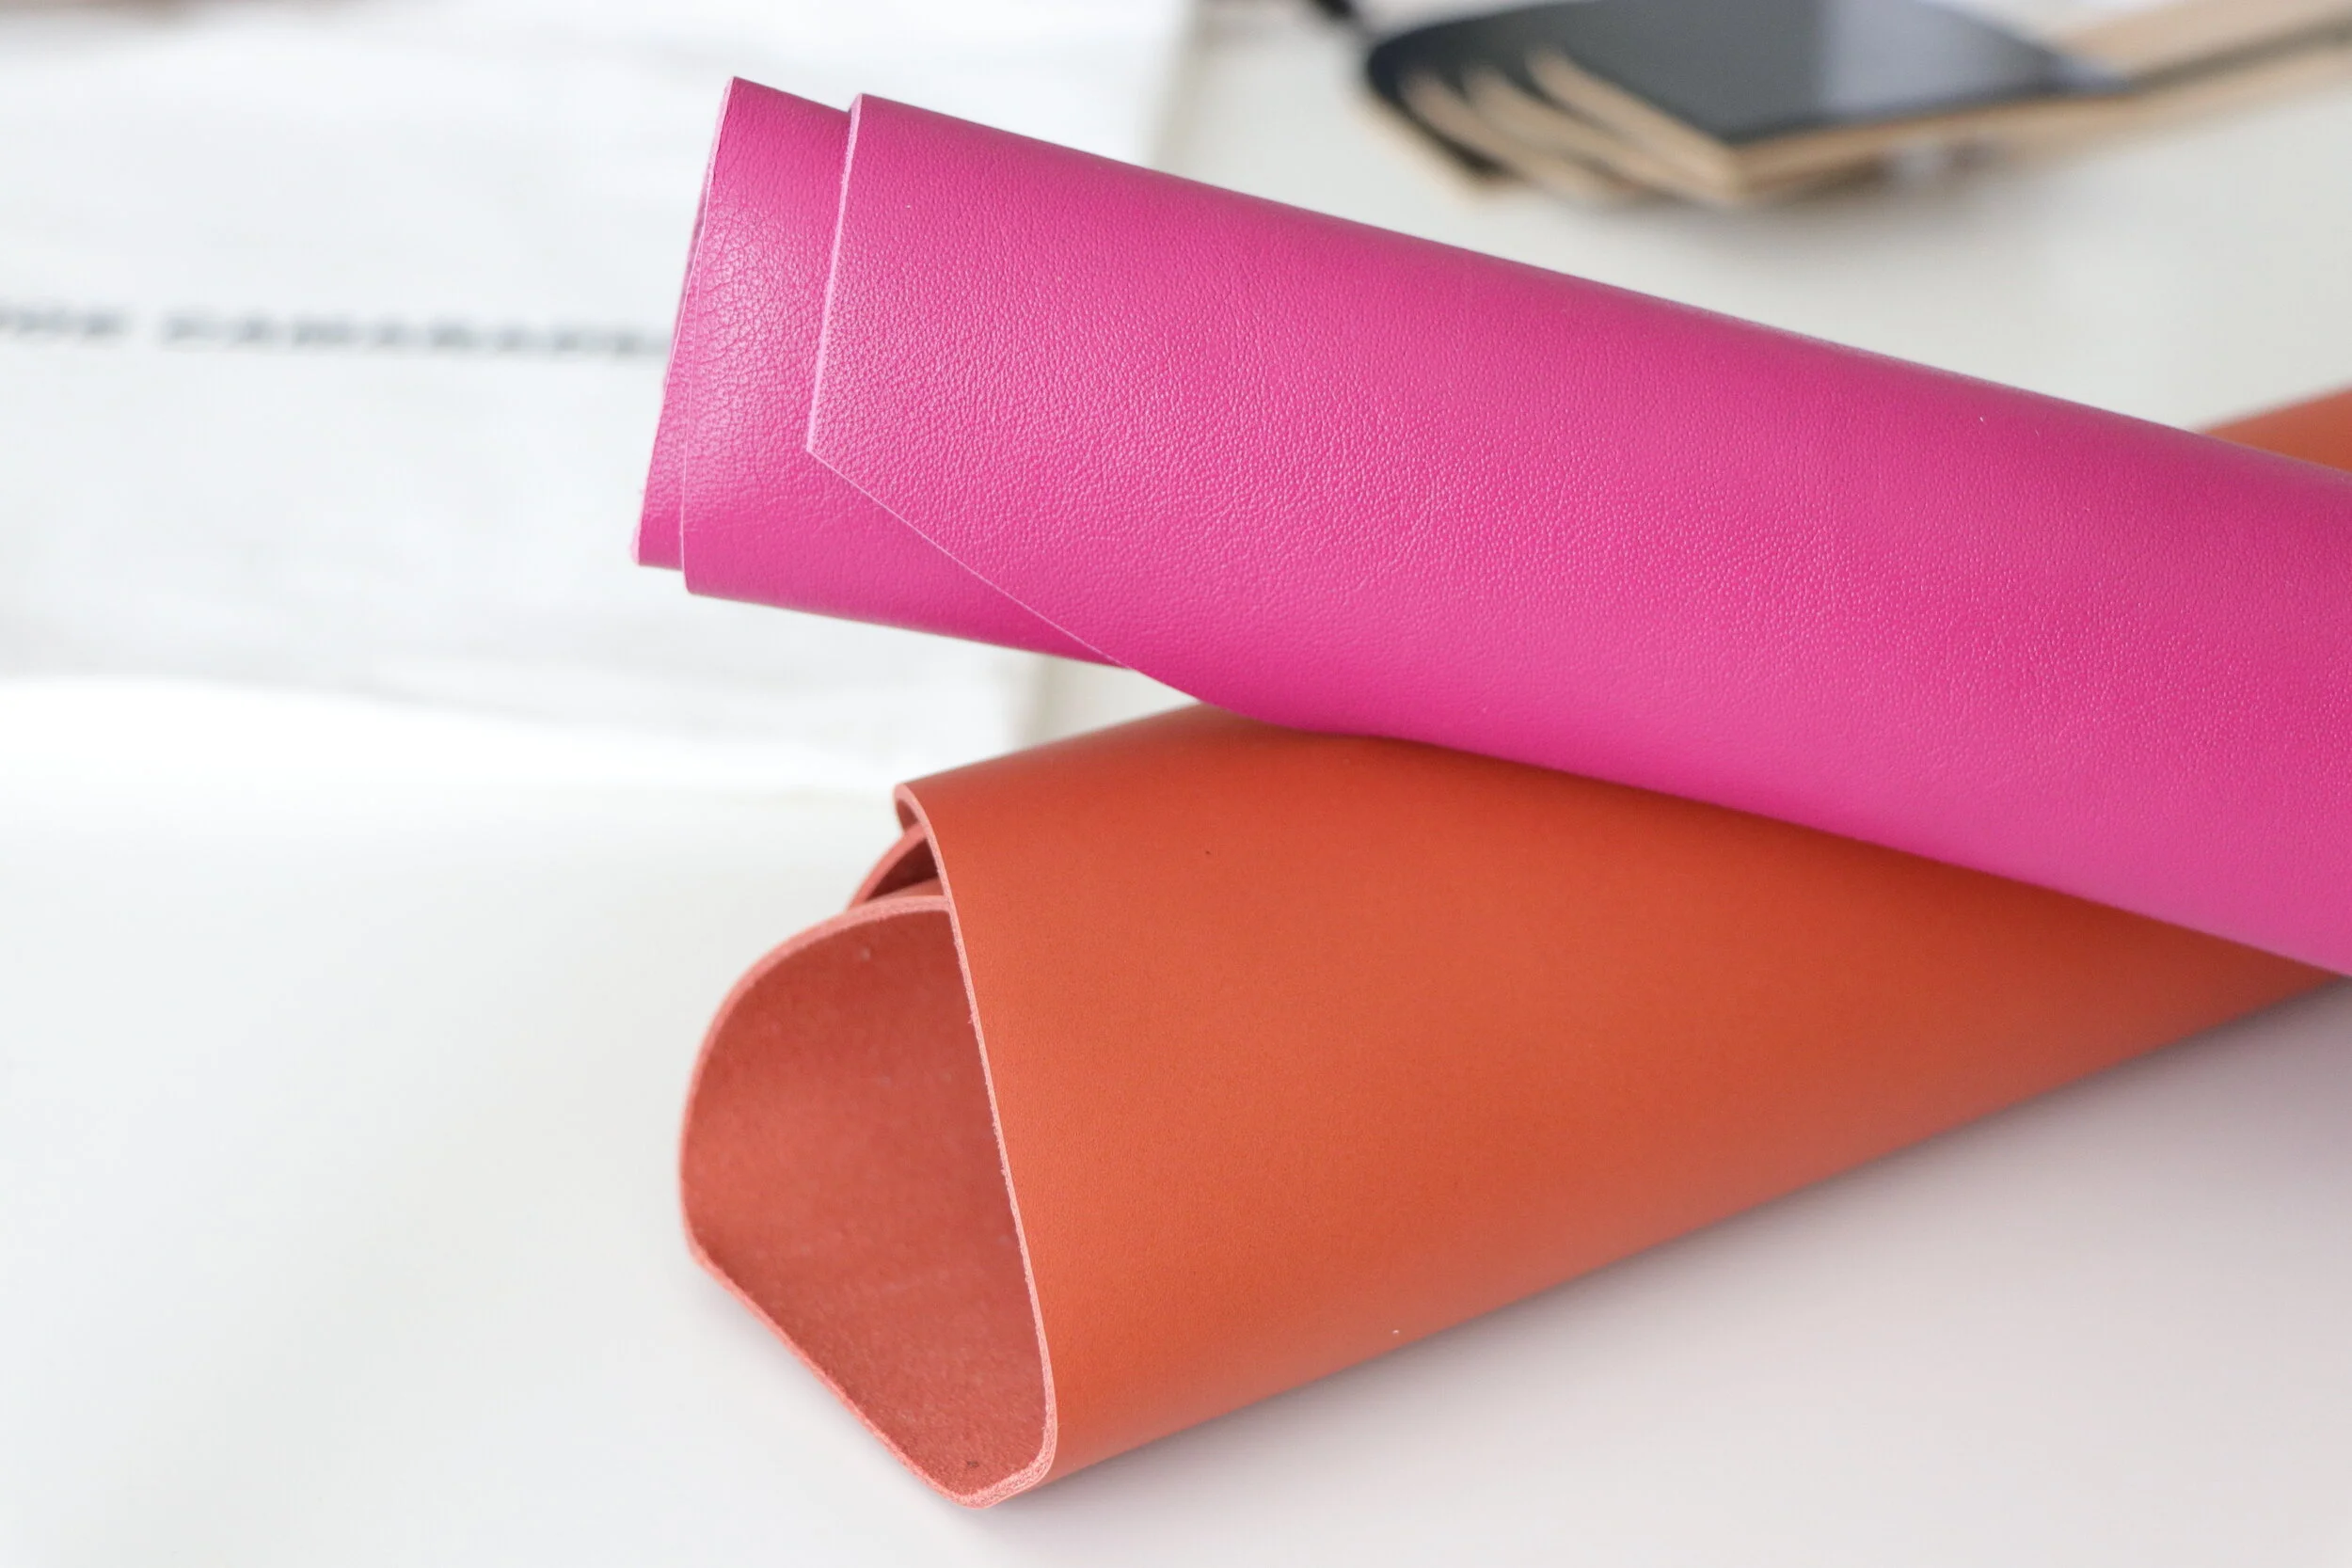
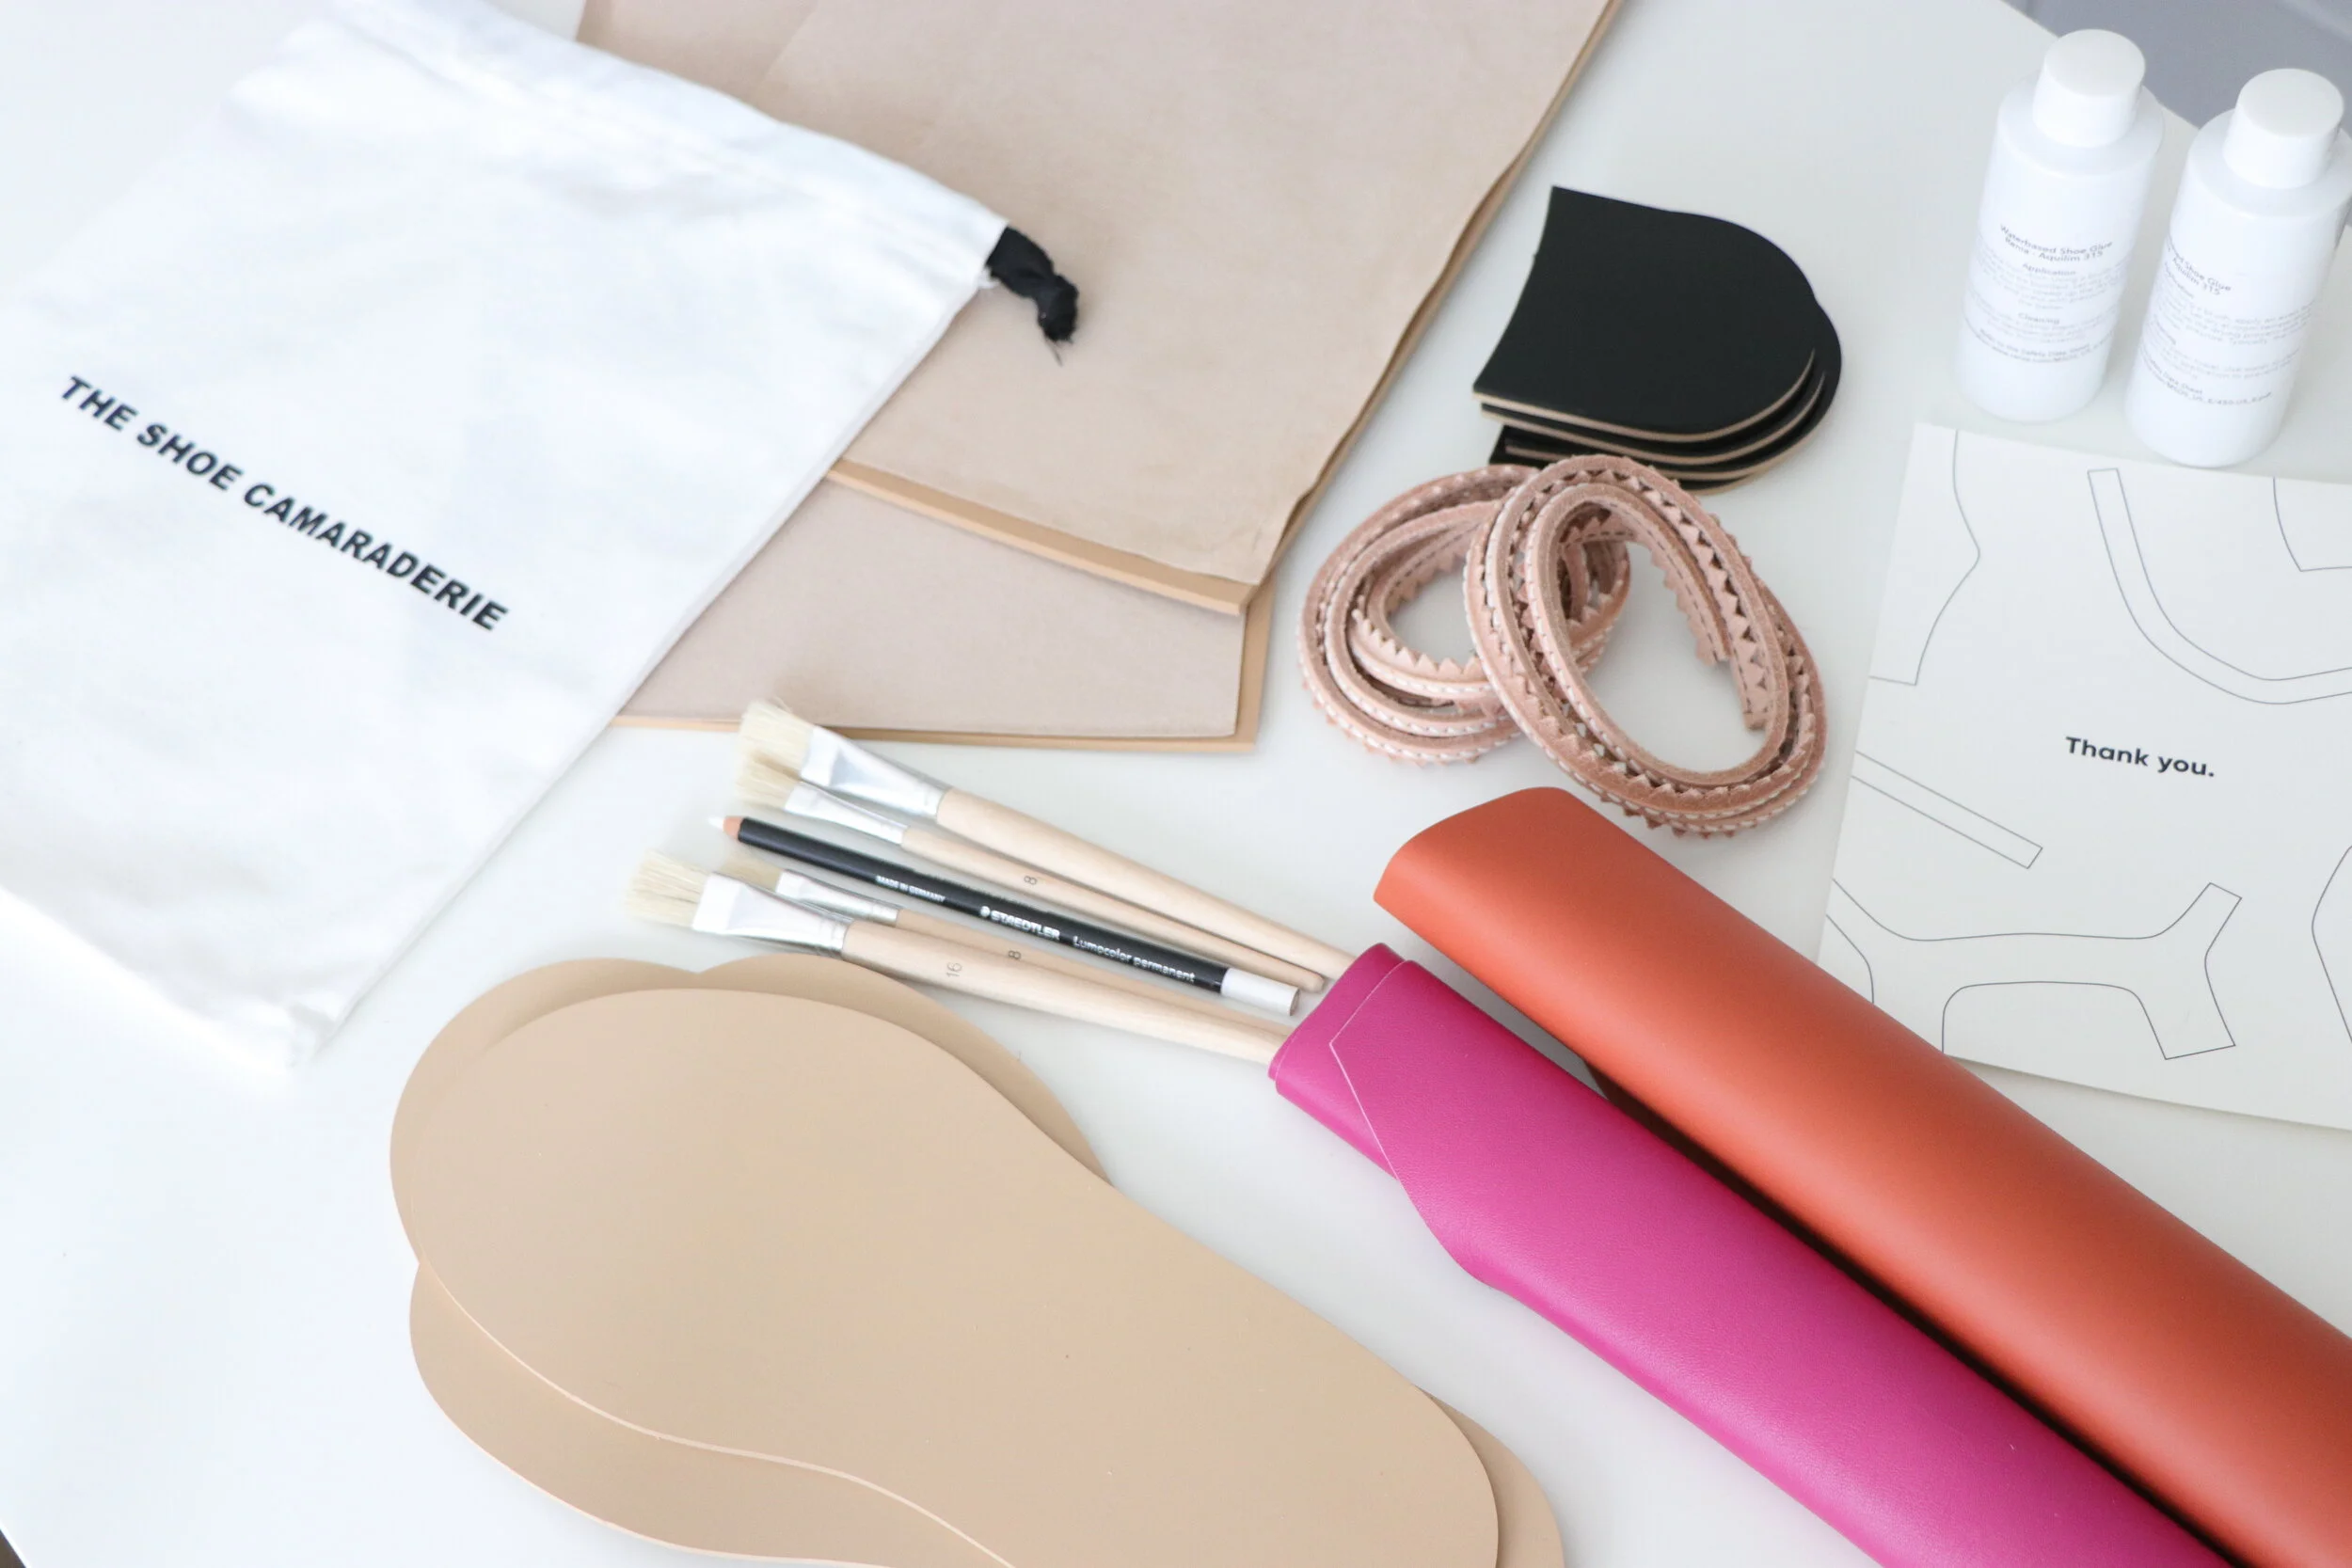
I will be using the Ada Sandal Kit to make my sandals. Lisa was kind and incredibly generous to gift me supplies for two sandals. I plan to make a pair in hot pink and a pair in rust! Here’s a list of everything included in the kit…
Access to instructional online video lessons
PDF instructional booklet with illustrations
PDF patterns for chosen style (all sizes)
Leather for shoe upper
EVA high density midsole material @ 4mm thickness
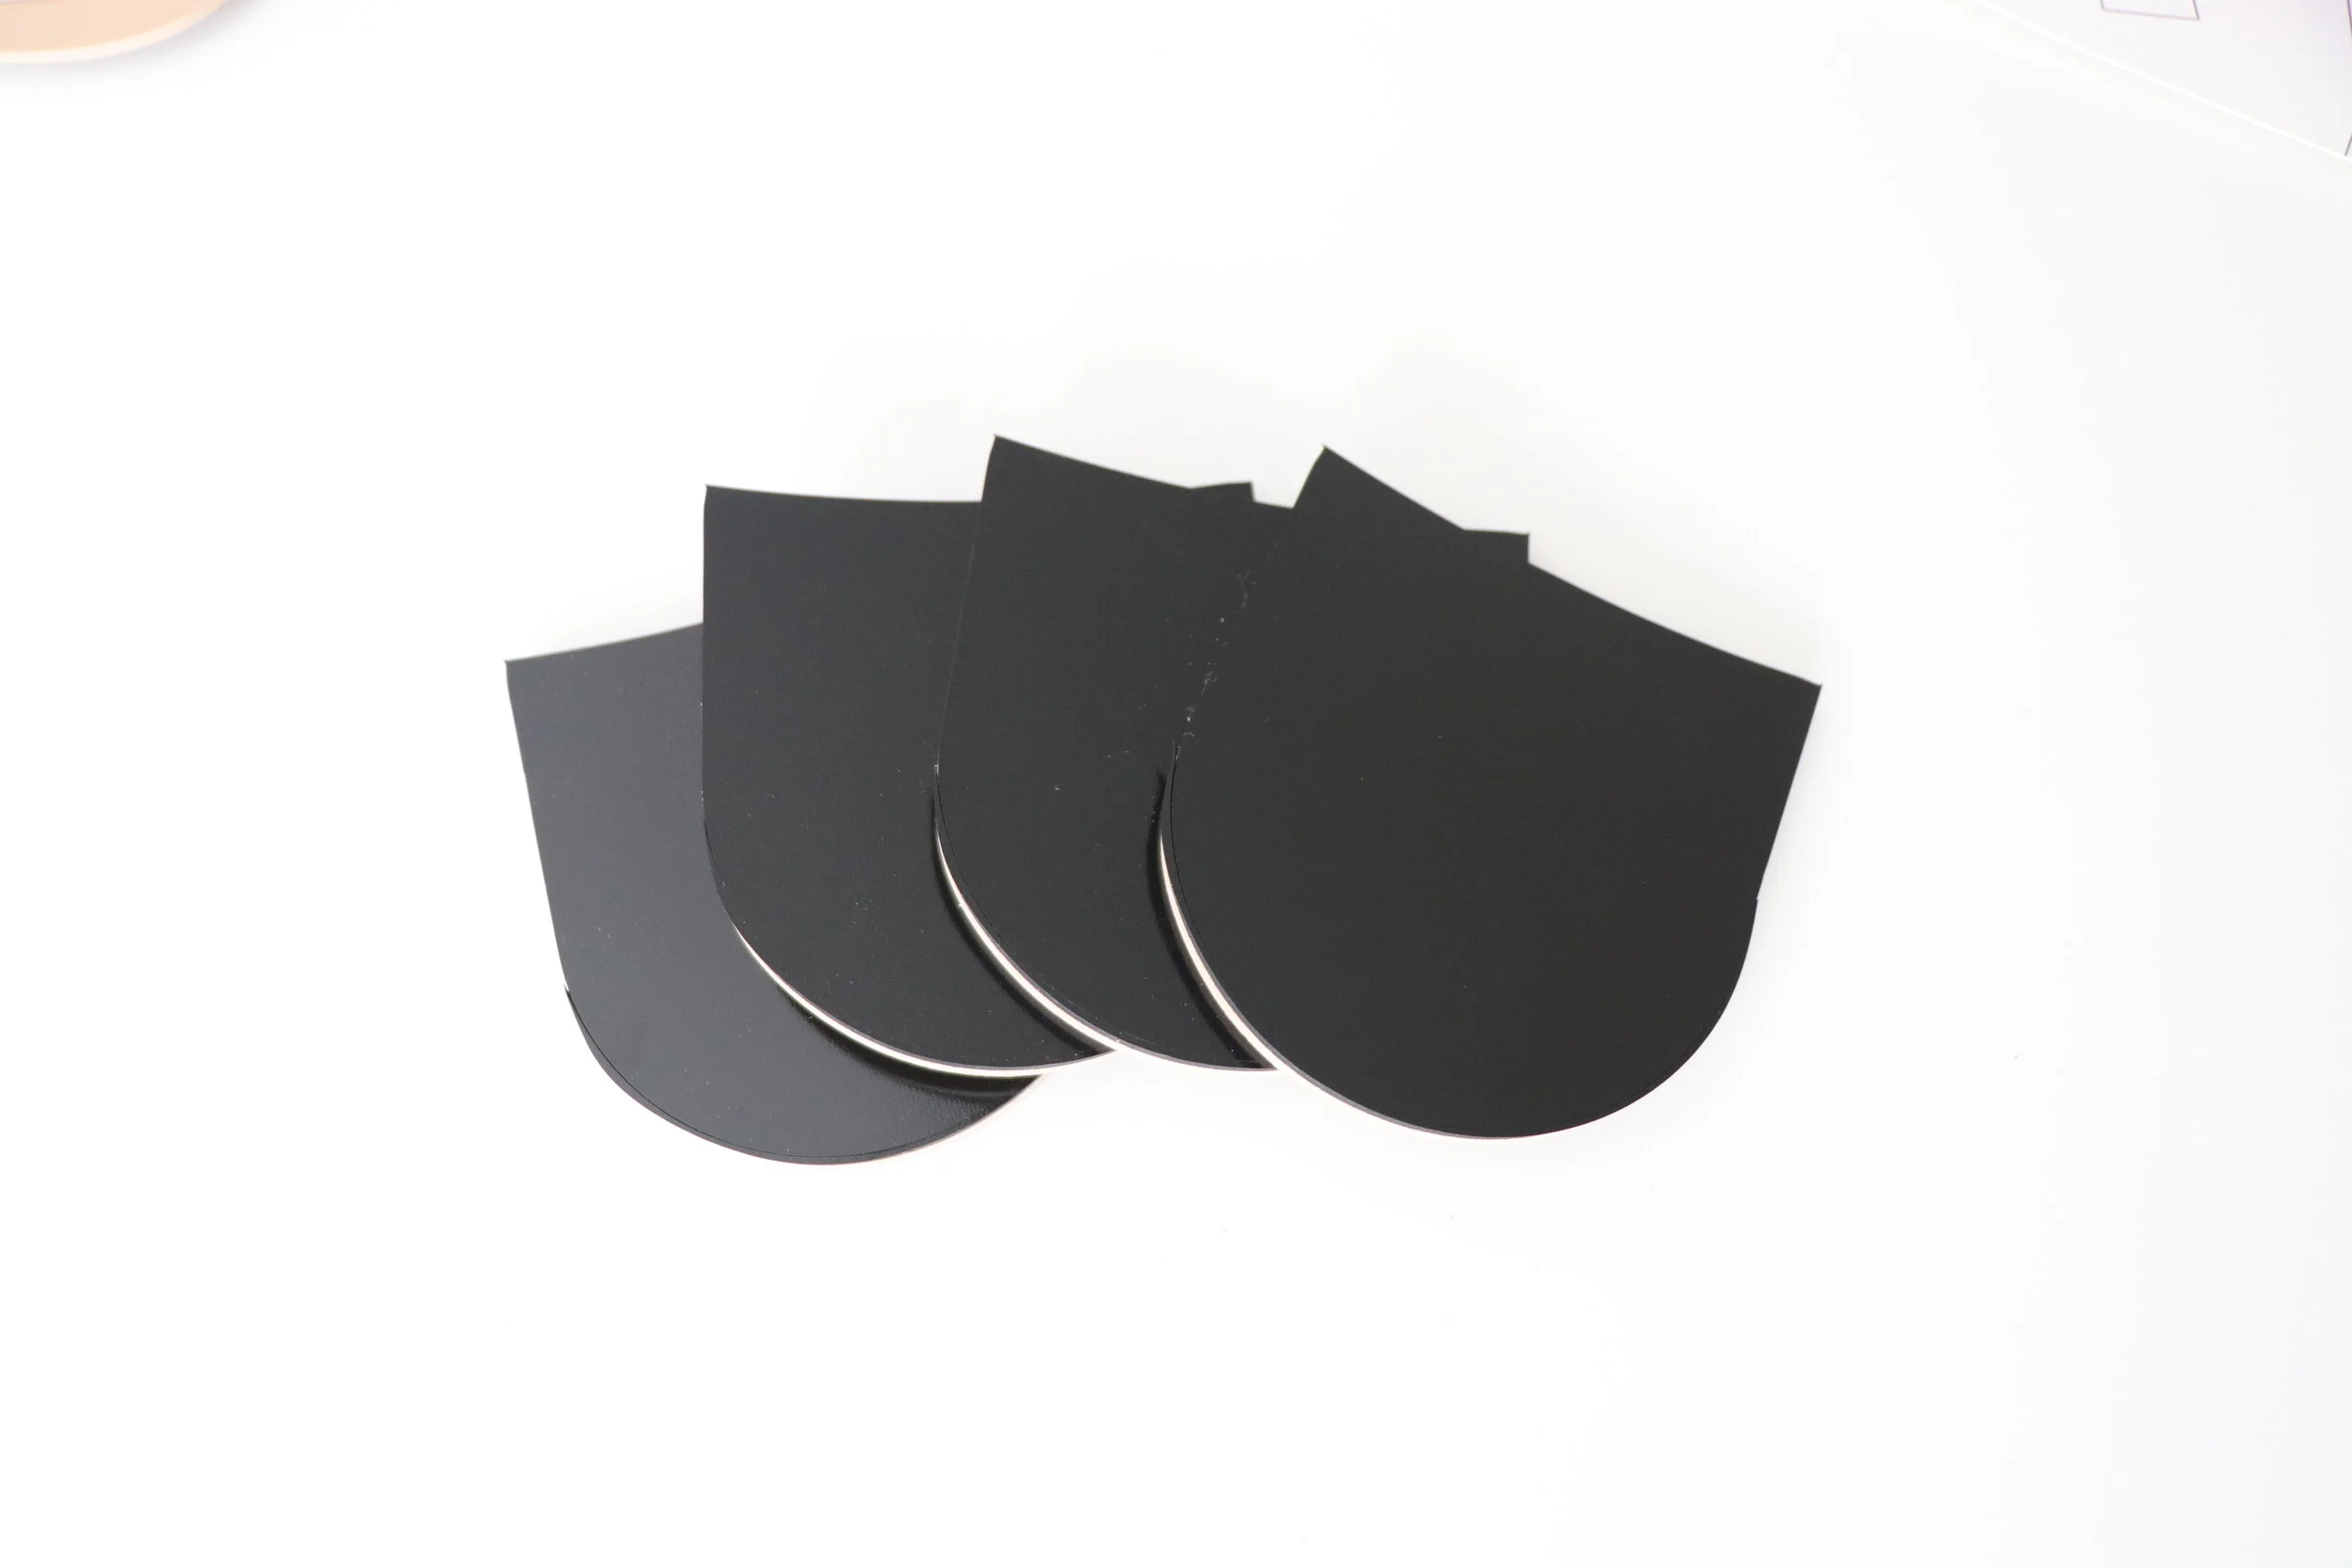
Resin/rubber pre-cut heel pieces @ 6mm height
Resin/rubber pre-cut outsoles @ 3mm thickness
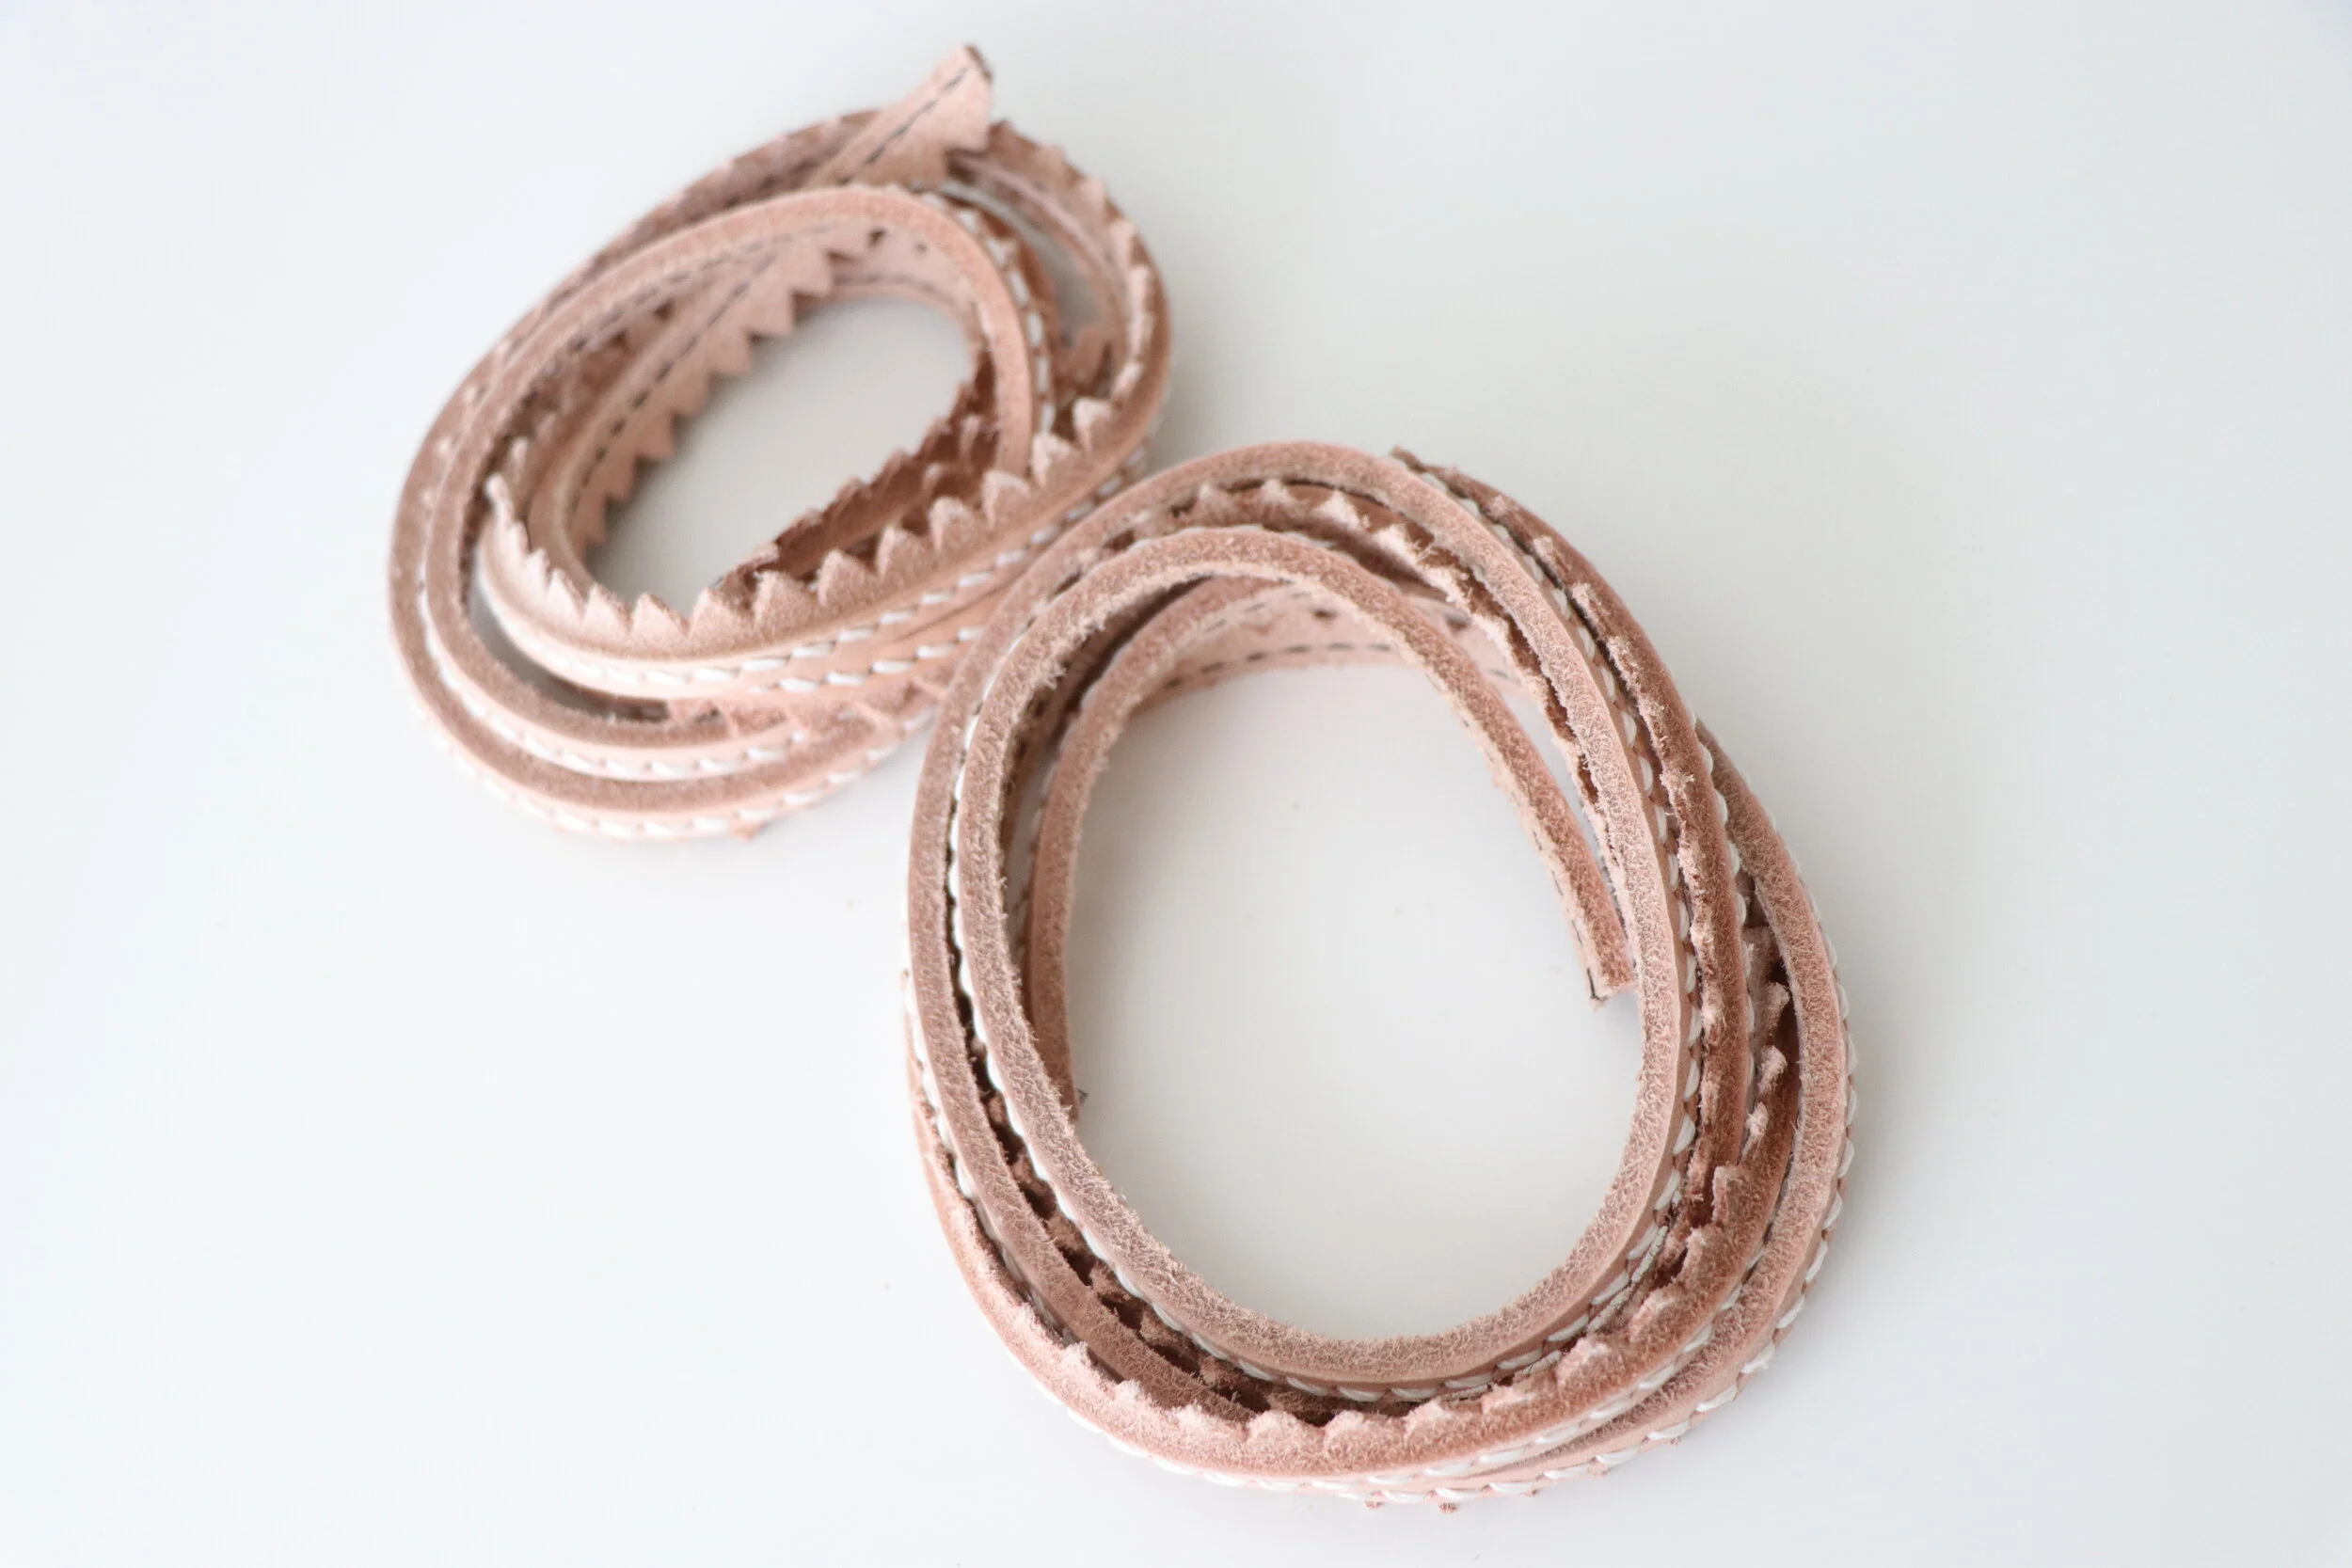
Leather rand
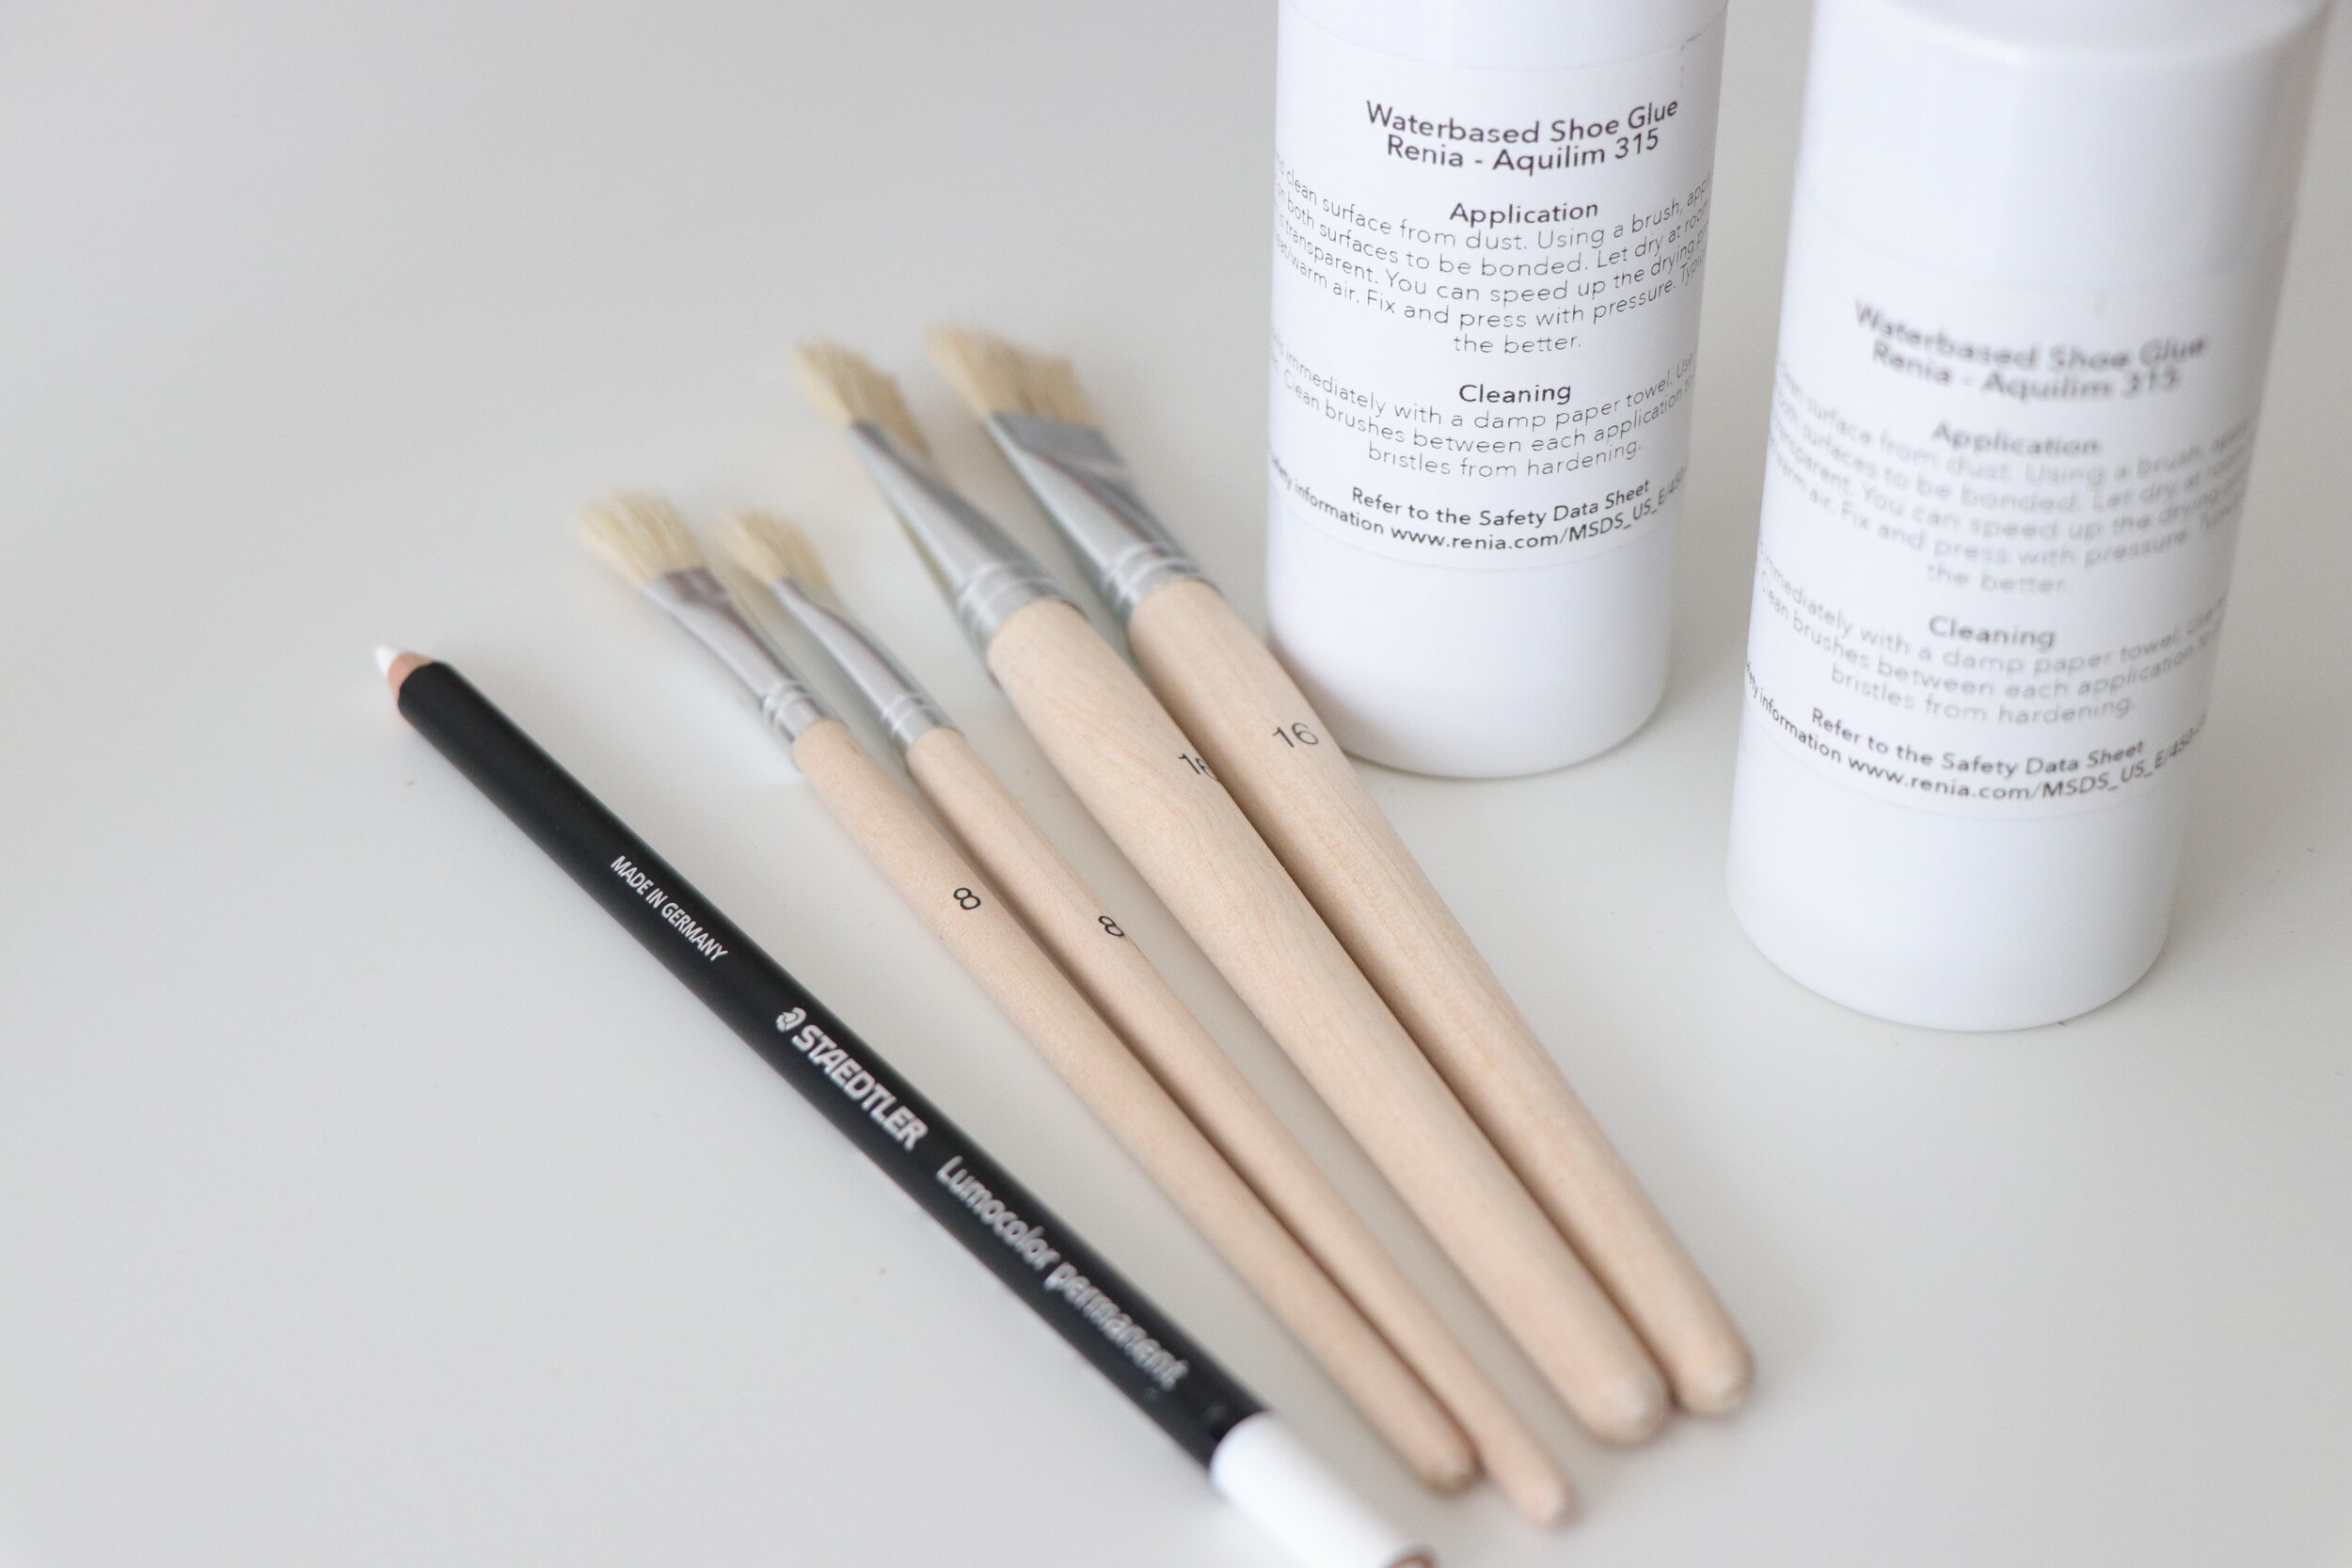
Shoe glue & brushes
Tracing pencil
Once you purchase a kit, you’ll have access to the online video lessons! Y’all, I kid you not….the video lessons are absolutely amazing! Lisa did not miss a step, I mean “trace your foot, cut it out, put it here” she goes step by step by step and makes it so easy for beginners and those like me that may be a little intimated. The videos are sharp, and the sound is clear! I really enjoyed watching the lessons. I watched all them ahead of time, so now that I have the kit, I’ll watch them again as I’ll follow along making the sandals.
Below are pics that I took of the supplies. It’s only 4 other items that I would need to complete my sandals like a measuring tape, heavy duty scissors etc, and I have them already in my sewing room.
I hope that you all will stay tuned for the process of these sandals. I’ll share more details here when I blog, and post on my Instagram until they’re done! If you’ve been inspired to try sandals or shoe making, check out The Shoe Camaraderie. Lisa is amazing, knowledgeable, kind and passionate about helping people learn to make sandals. She even hopped on a Zoom call with me to talk through the process and reassure me that you don’t need shoe making experience to make a cute pair sandals!
